
AI Content Management System
Codepup AI’s built-in CMS (Content Management System) lets you manage your website’s real database content directly from the dashboard - no SQL, no code, no external tools required.
Add products, manage users, track orders, and seed test data - all from a clean, visual interface.
Video Walkthrough
Section titled “Video Walkthrough”Watch the full CMS walkthrough before getting started:
What Is the Codepup AI CMS?
Section titled “What Is the Codepup AI CMS?”The CMS gives you full control over your project’s database. Think of it as your website’s back office - whenever you need to add a new product, update data, or populate your site with content, you do it from here.
It includes two powerful ways to manage your data:
- Manual Row Entry - fill in a simple form to add data one row at a time
- AI Assistant - describe what you want in plain English and let the AI do the heavy lifting
Step 1 - Open the CMS
Section titled “Step 1 - Open the CMS”From your Codepup AI project, look at the top-right toolbar. Click the database icon (cylinder with a lightning bolt ⚡).
![]()
This opens the CMS panel in a new view. You will see:
- Left sidebar - lists all your database tables (e.g.
Categories,Orders,Products,Profiles, etc.) - Main panel - where you view and manage data for the selected table
- AI Assistant - pinned at the top of the sidebar for quick access
Method 1 - Add Data Using AI Assistant
Section titled “Method 1 - Add Data Using AI Assistant”The AI Assistant is the fastest way to add content to your website. Instead of filling in forms manually, you simply describe what you want - and the AI creates it for you.
Step 1 - Open AI Assistant
Section titled “Step 1 - Open AI Assistant”Click AI Assistant at the top of the left sidebar.
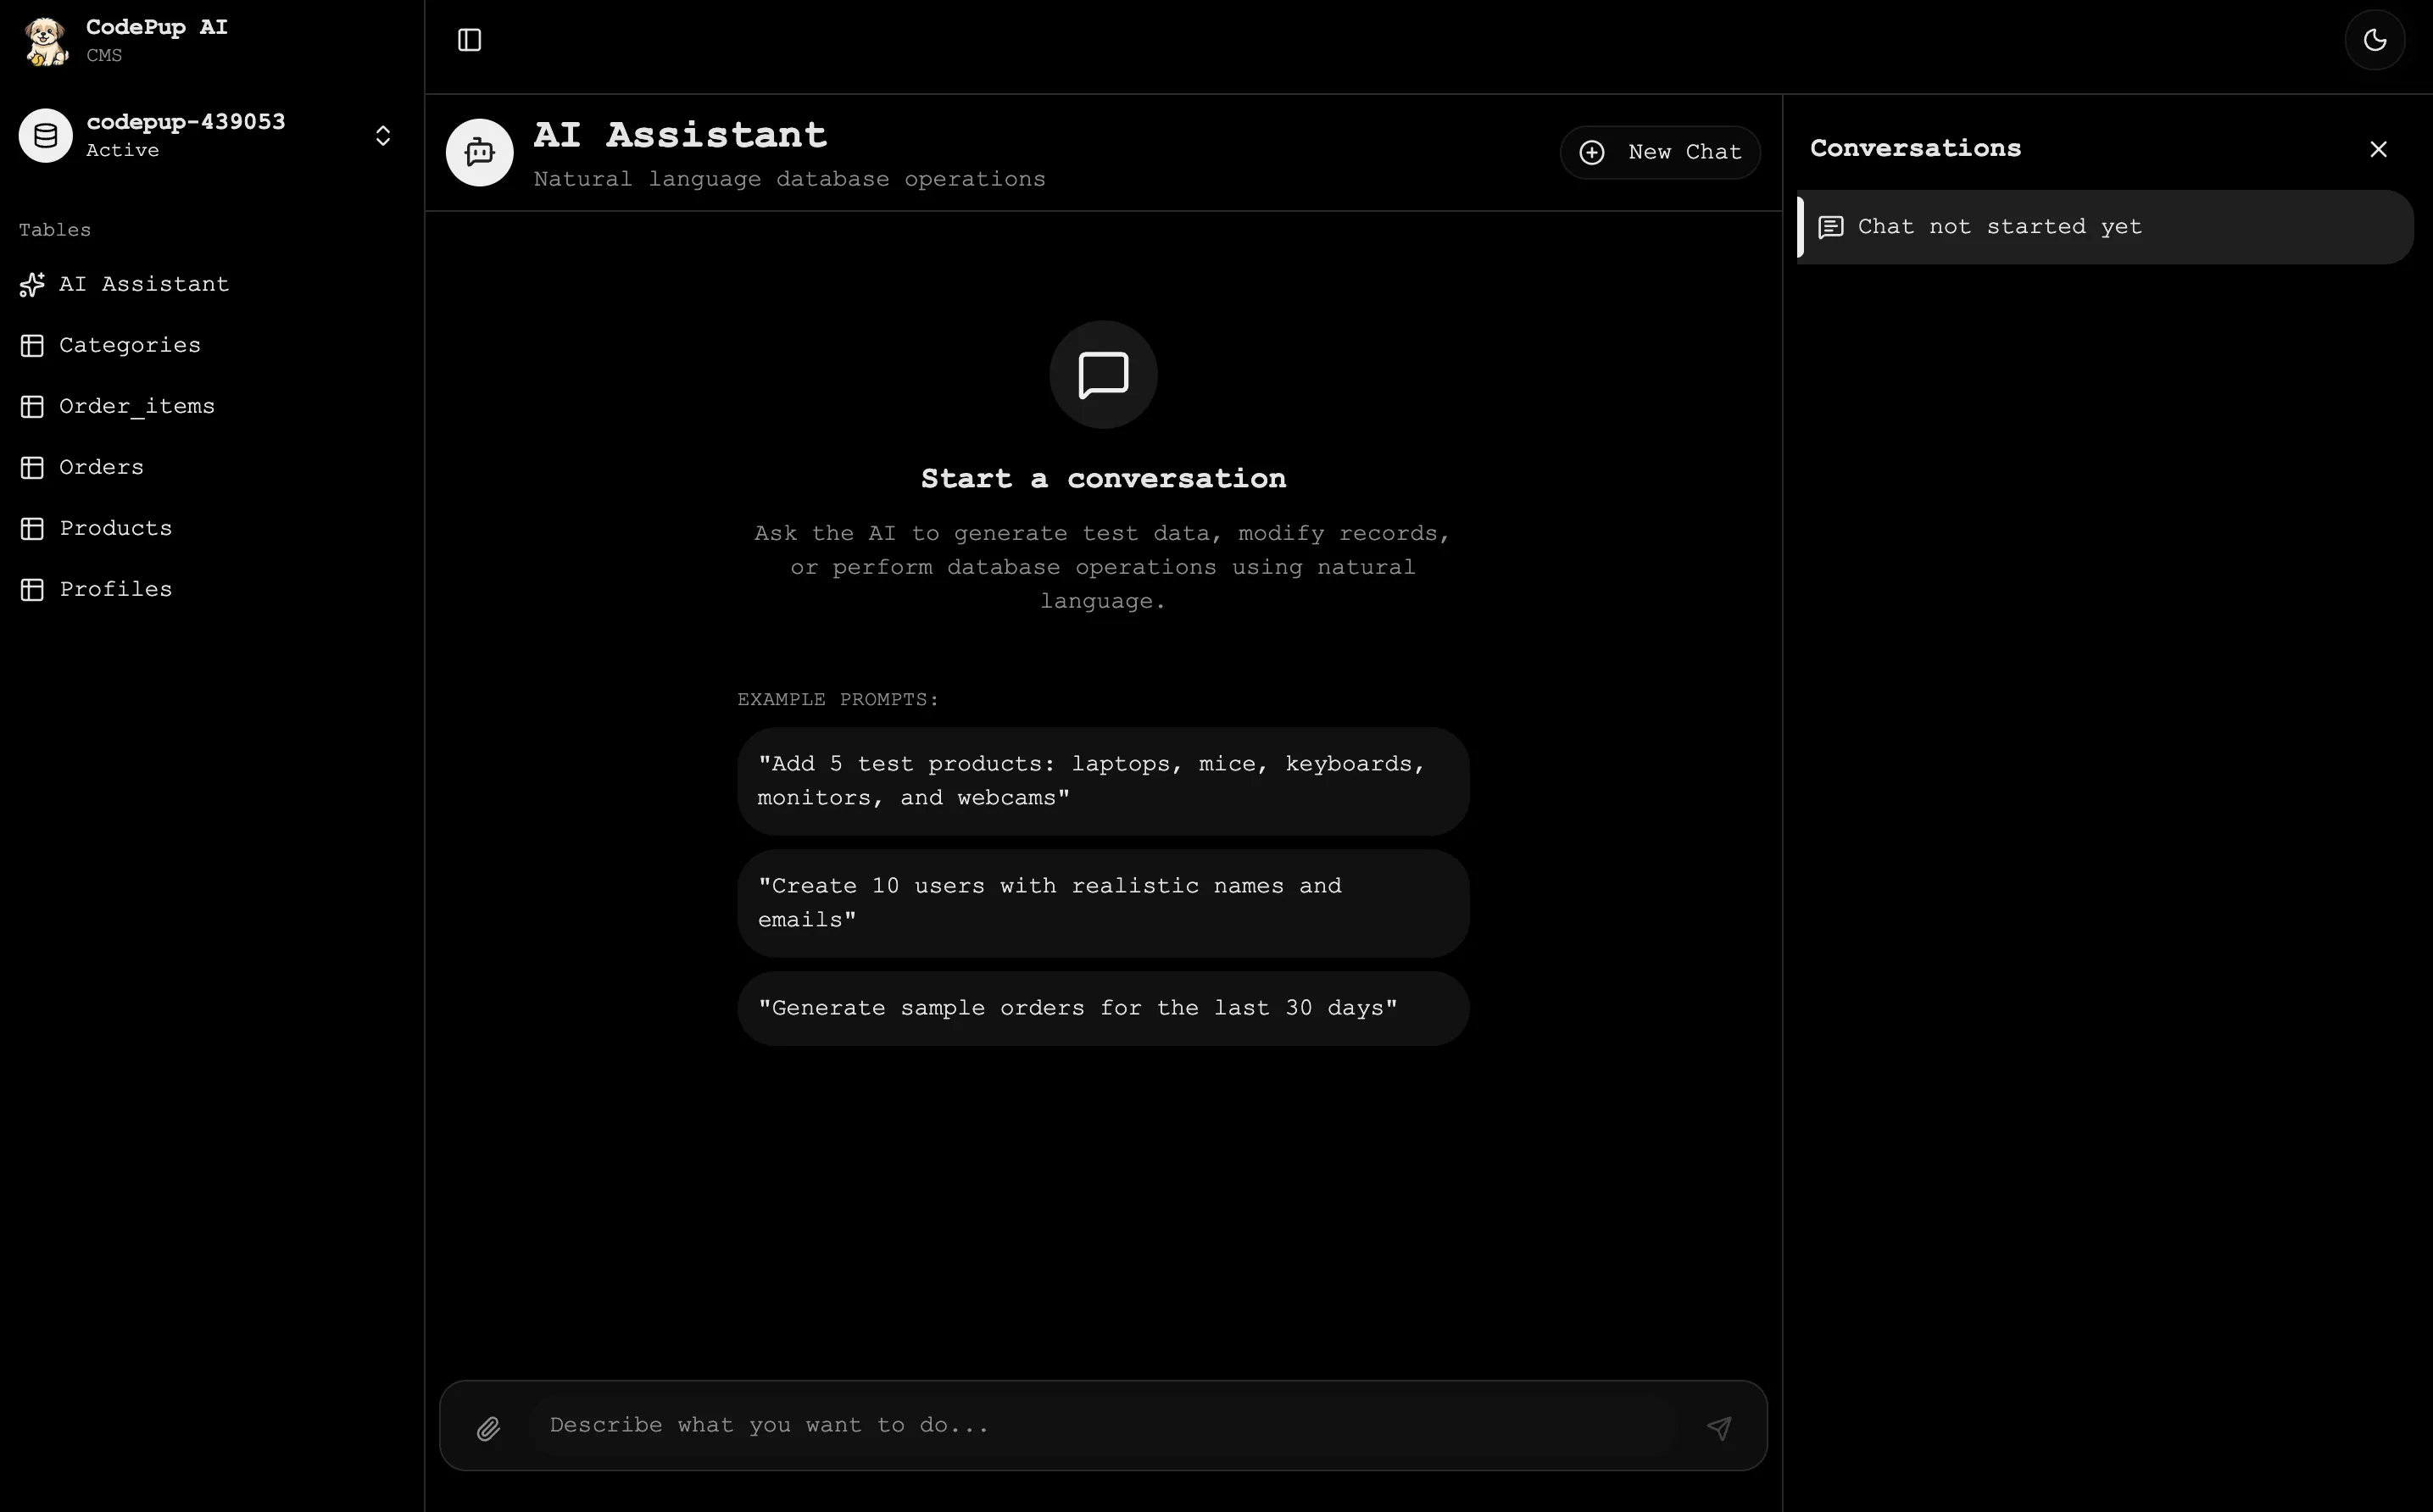
You will see a chat interface with a message box at the bottom. Type your request in plain English - for example:
"Add 2 or 3 test flowers in the products table""Create 10 users with realistic names and emails""Add 5 products: laptops, mice, keyboards, monitors, and webcams"Step 2 - Review the AI’s Plan
Section titled “Step 2 - Review the AI’s Plan”After you send your prompt, the AI does not act immediately. Instead, it shows you a clear plan of exactly what it will do before making any changes.
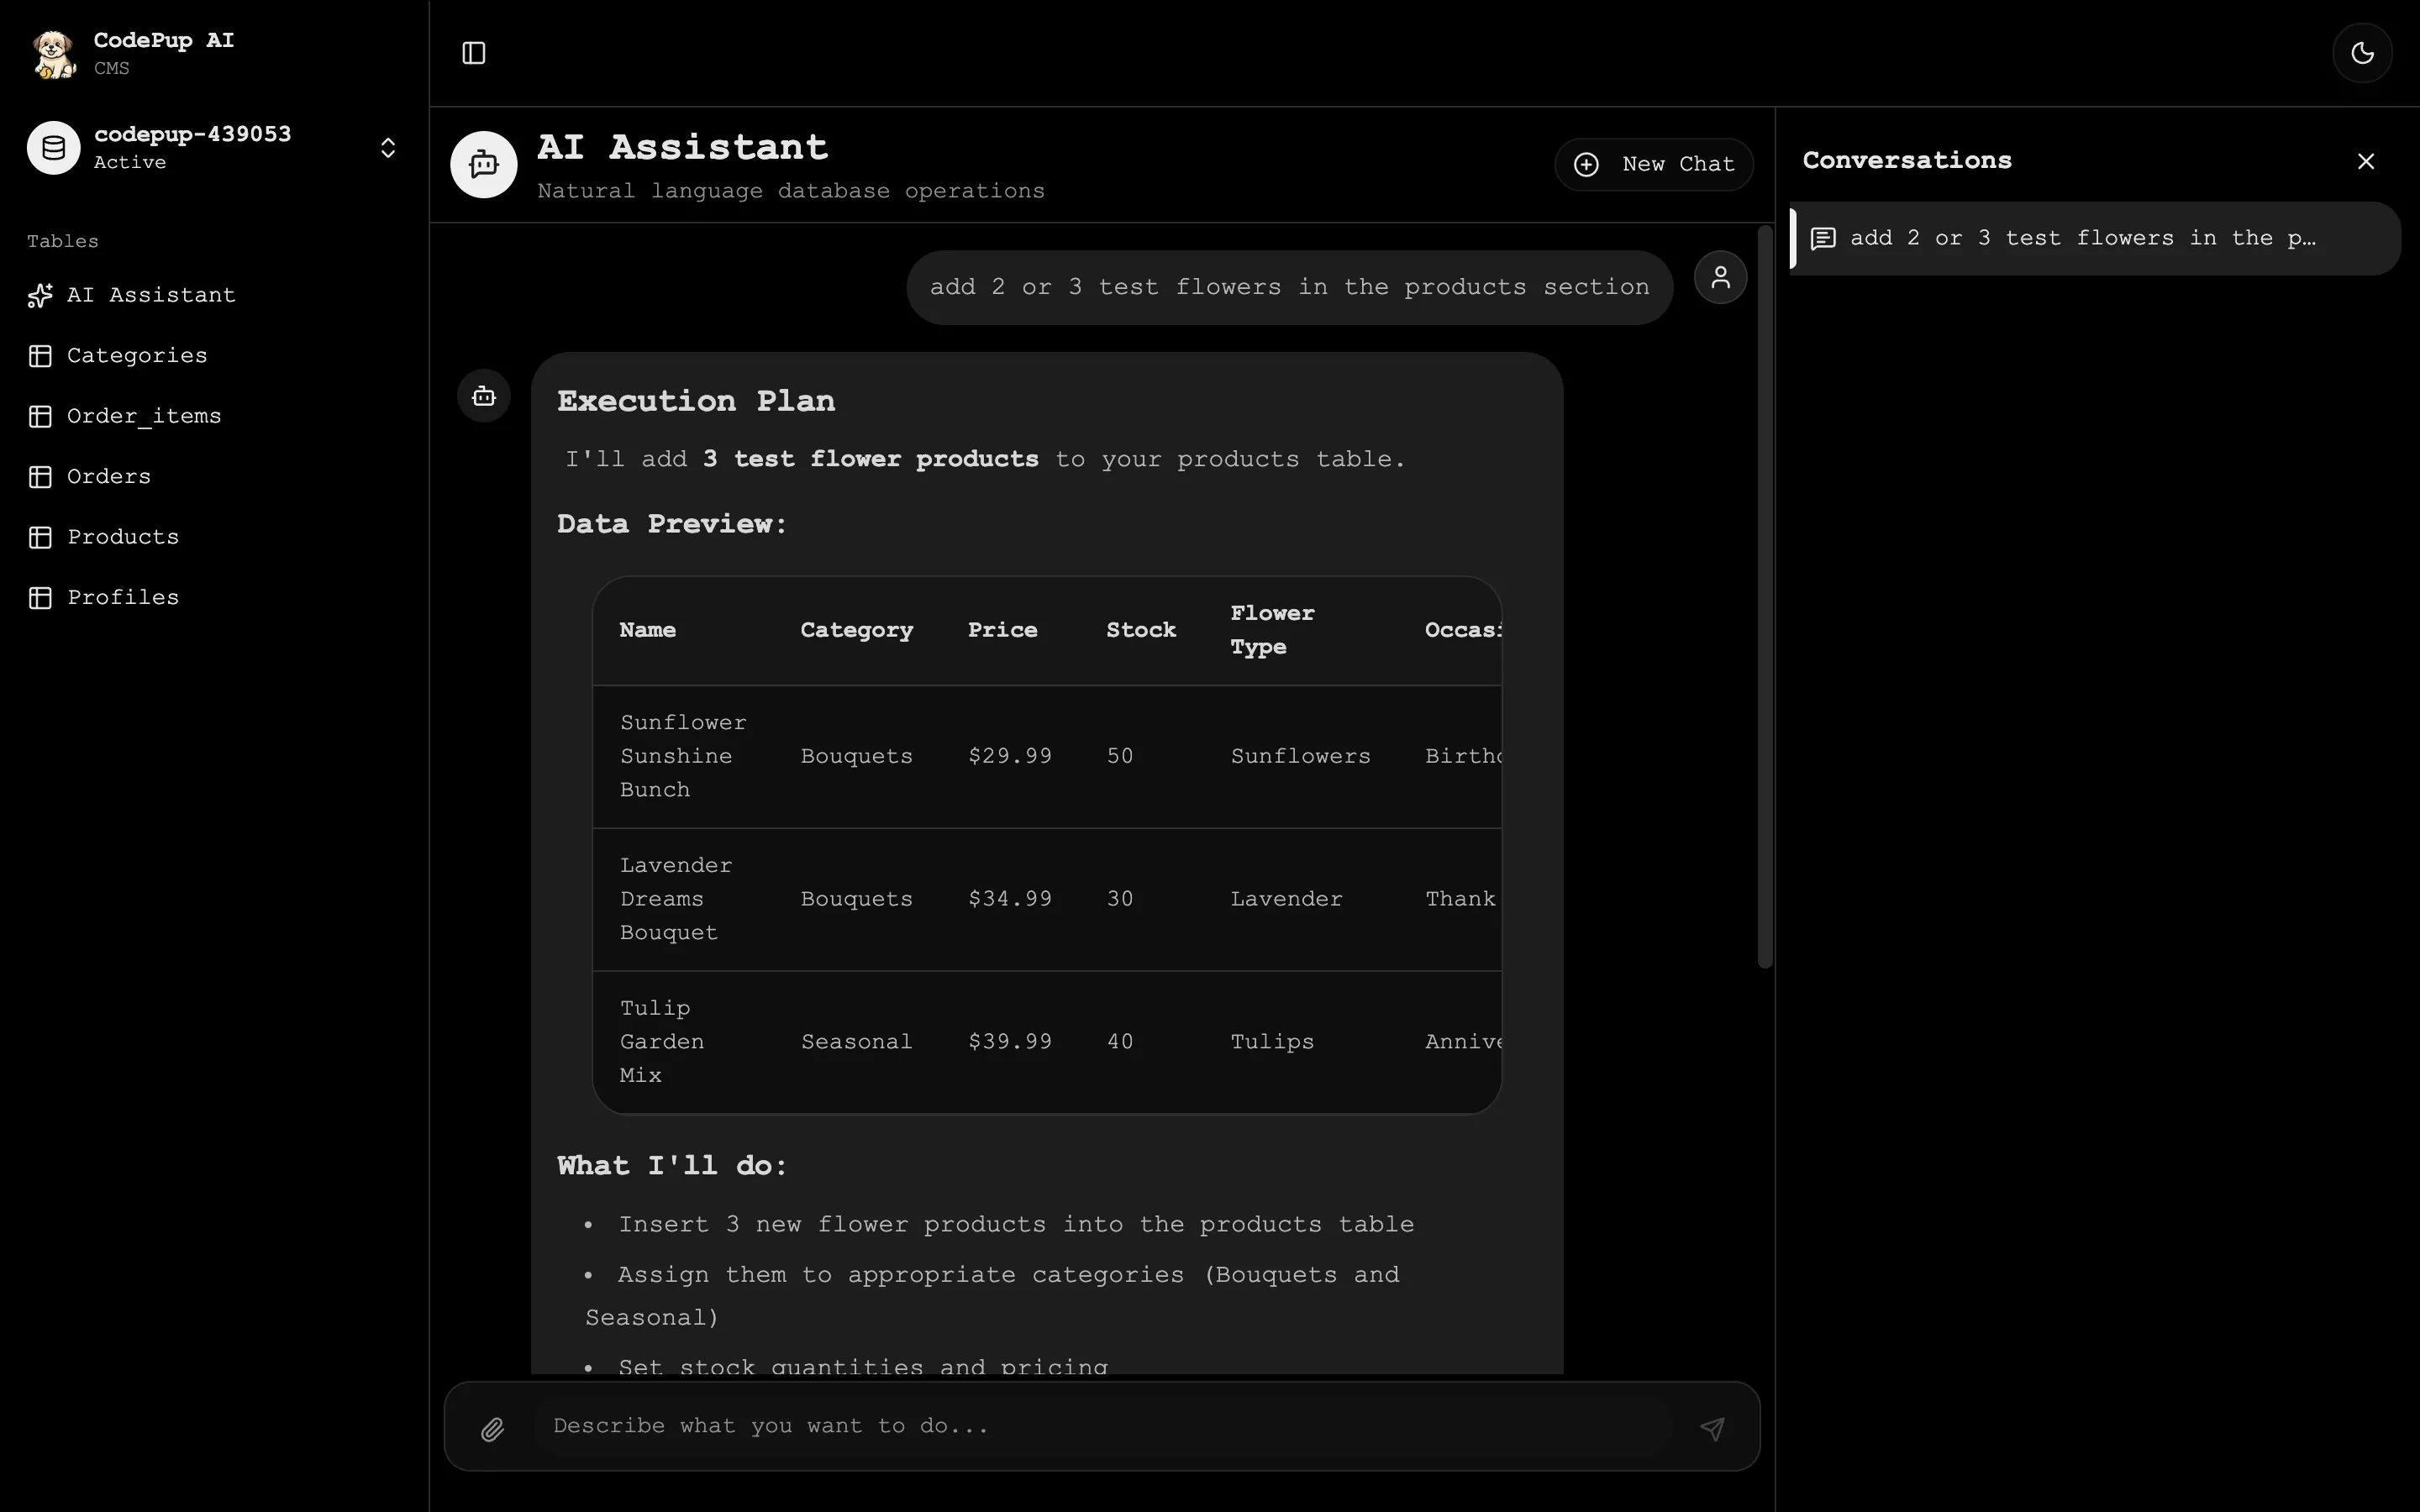
For example, if you asked to add flower products, the AI will show:
What I’ll do:
- Insert 3 new flower products with unique names and slugs
- Assign them to appropriate categories
- Set stock quantities, pricing, and product details
- Mark them as active products
Ready to proceed?
Review the plan carefully. You can also ask questions or request changes in the text box below before confirming.
Step 3 - Confirm or Decline
Section titled “Step 3 - Confirm or Decline”Once you are happy with the plan, click Confirm to let the AI execute it. If you want to cancel, click Decline.
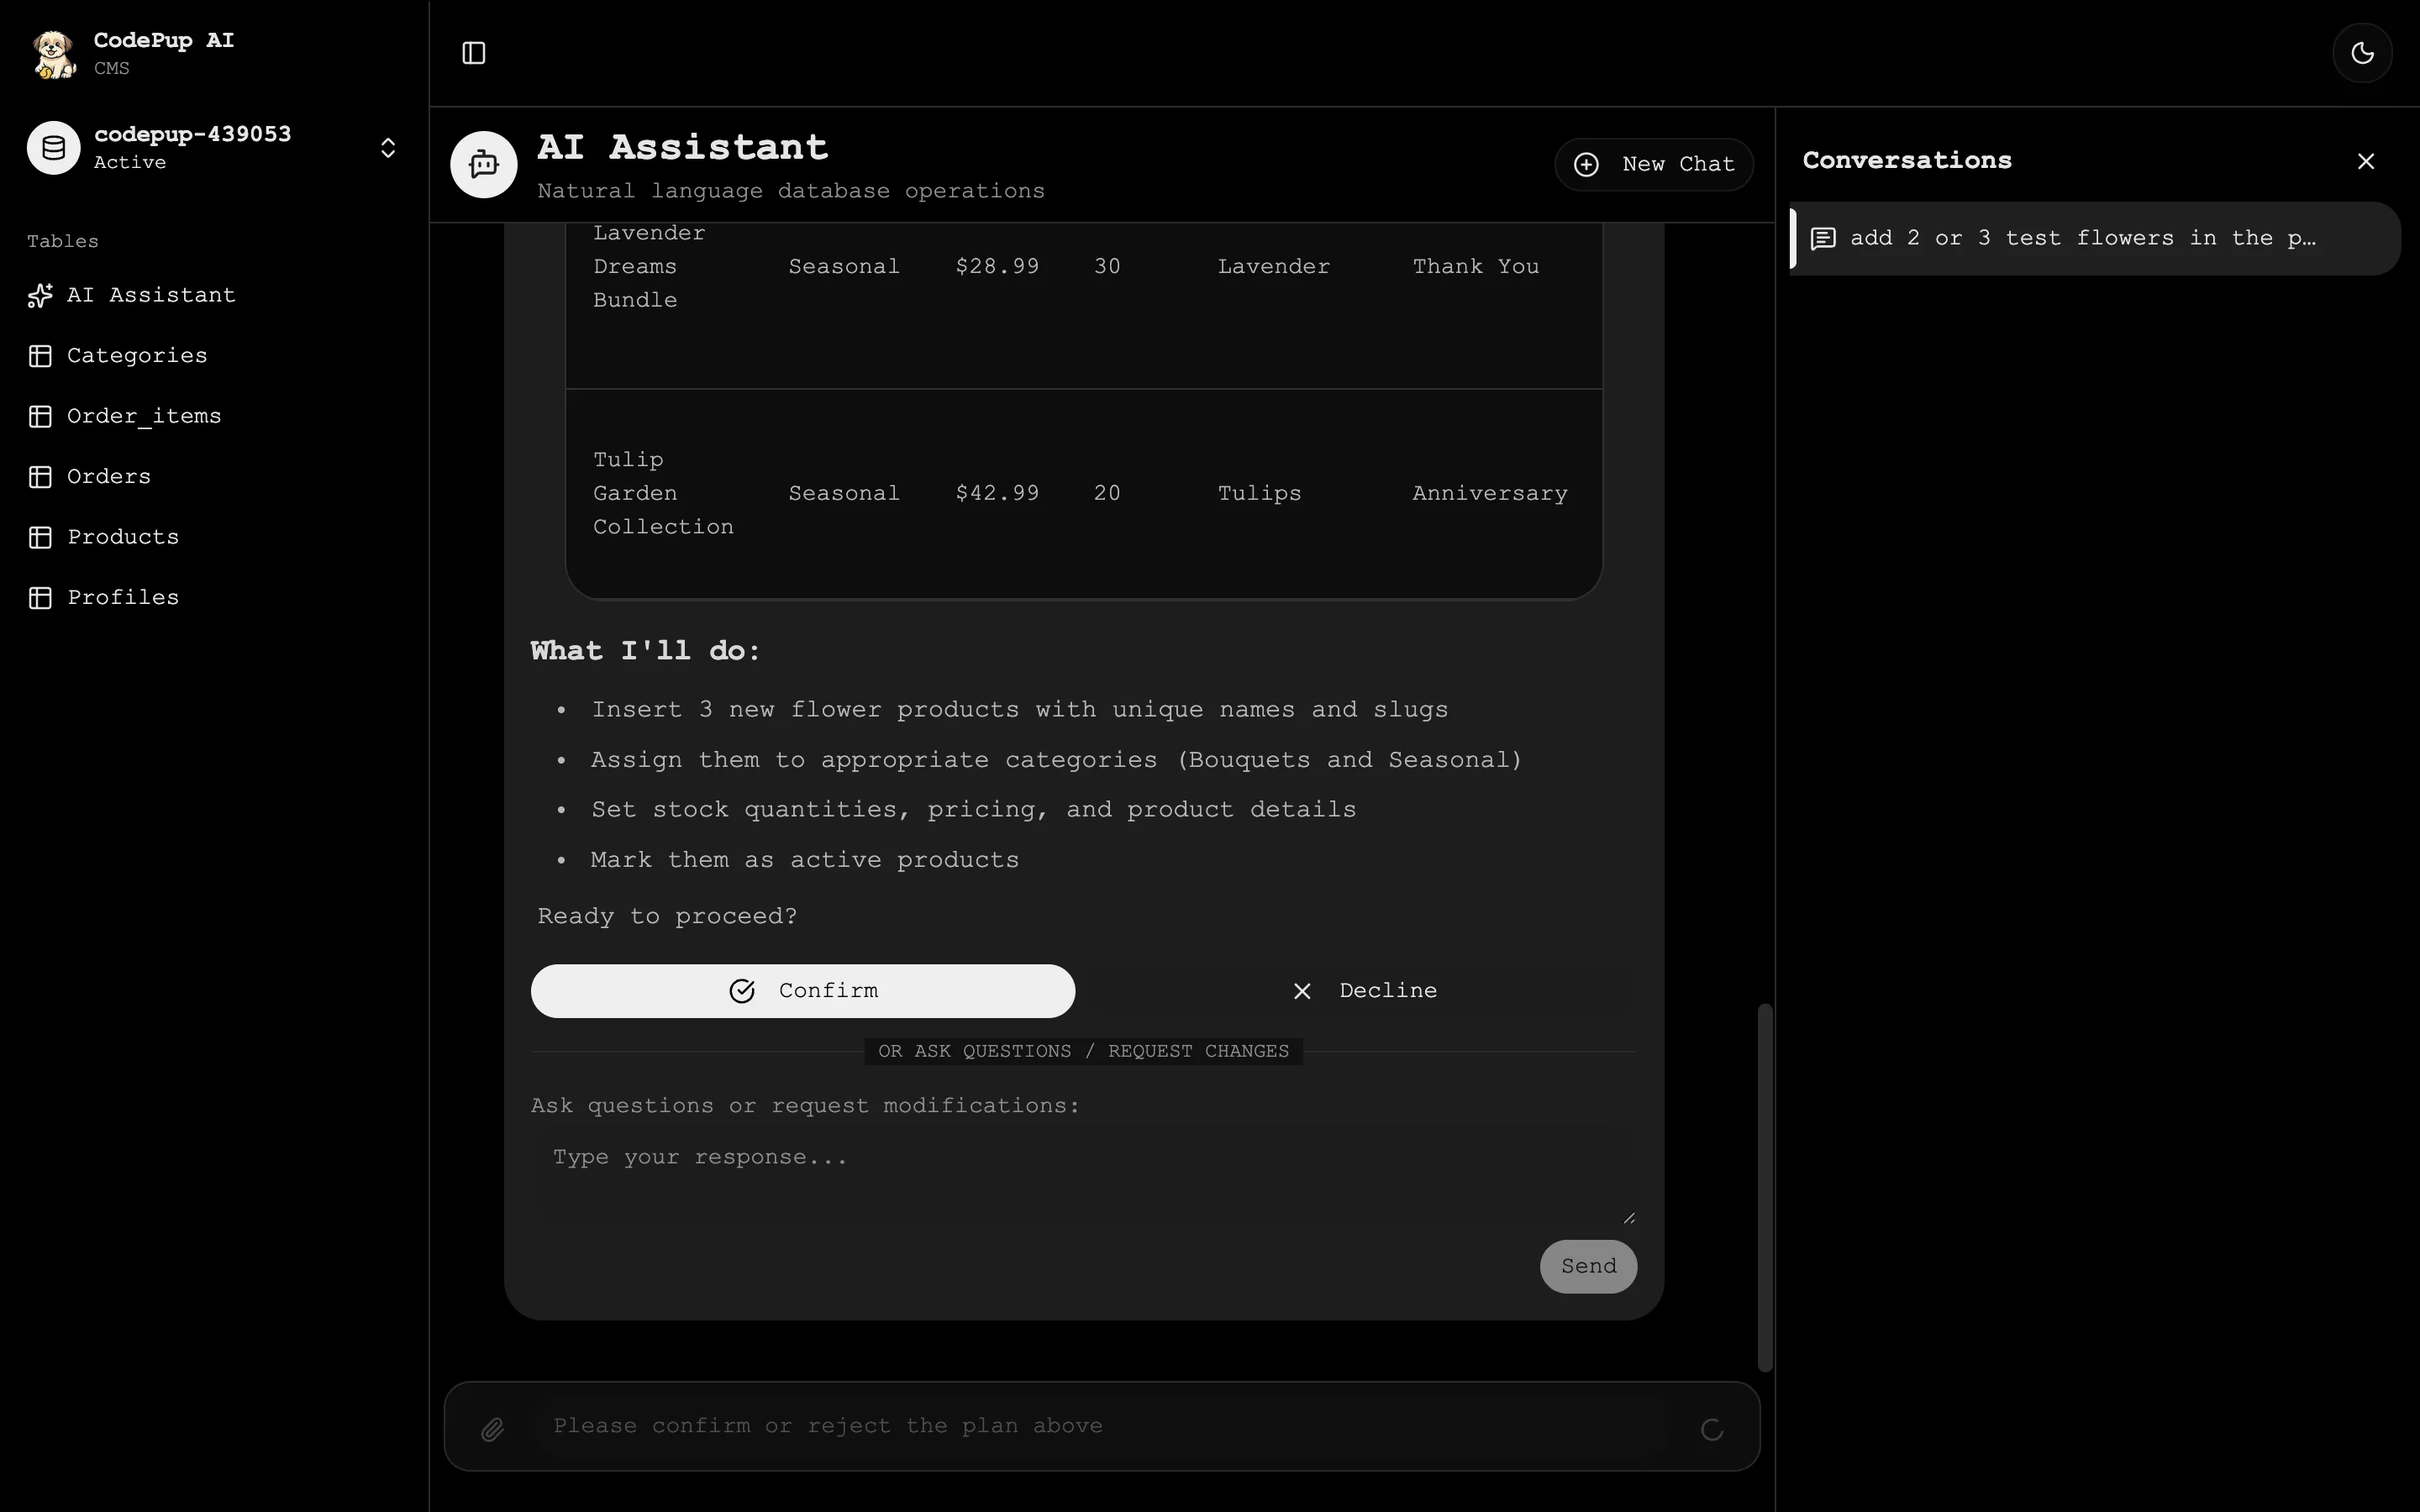
The AI will immediately insert all the data into your database.
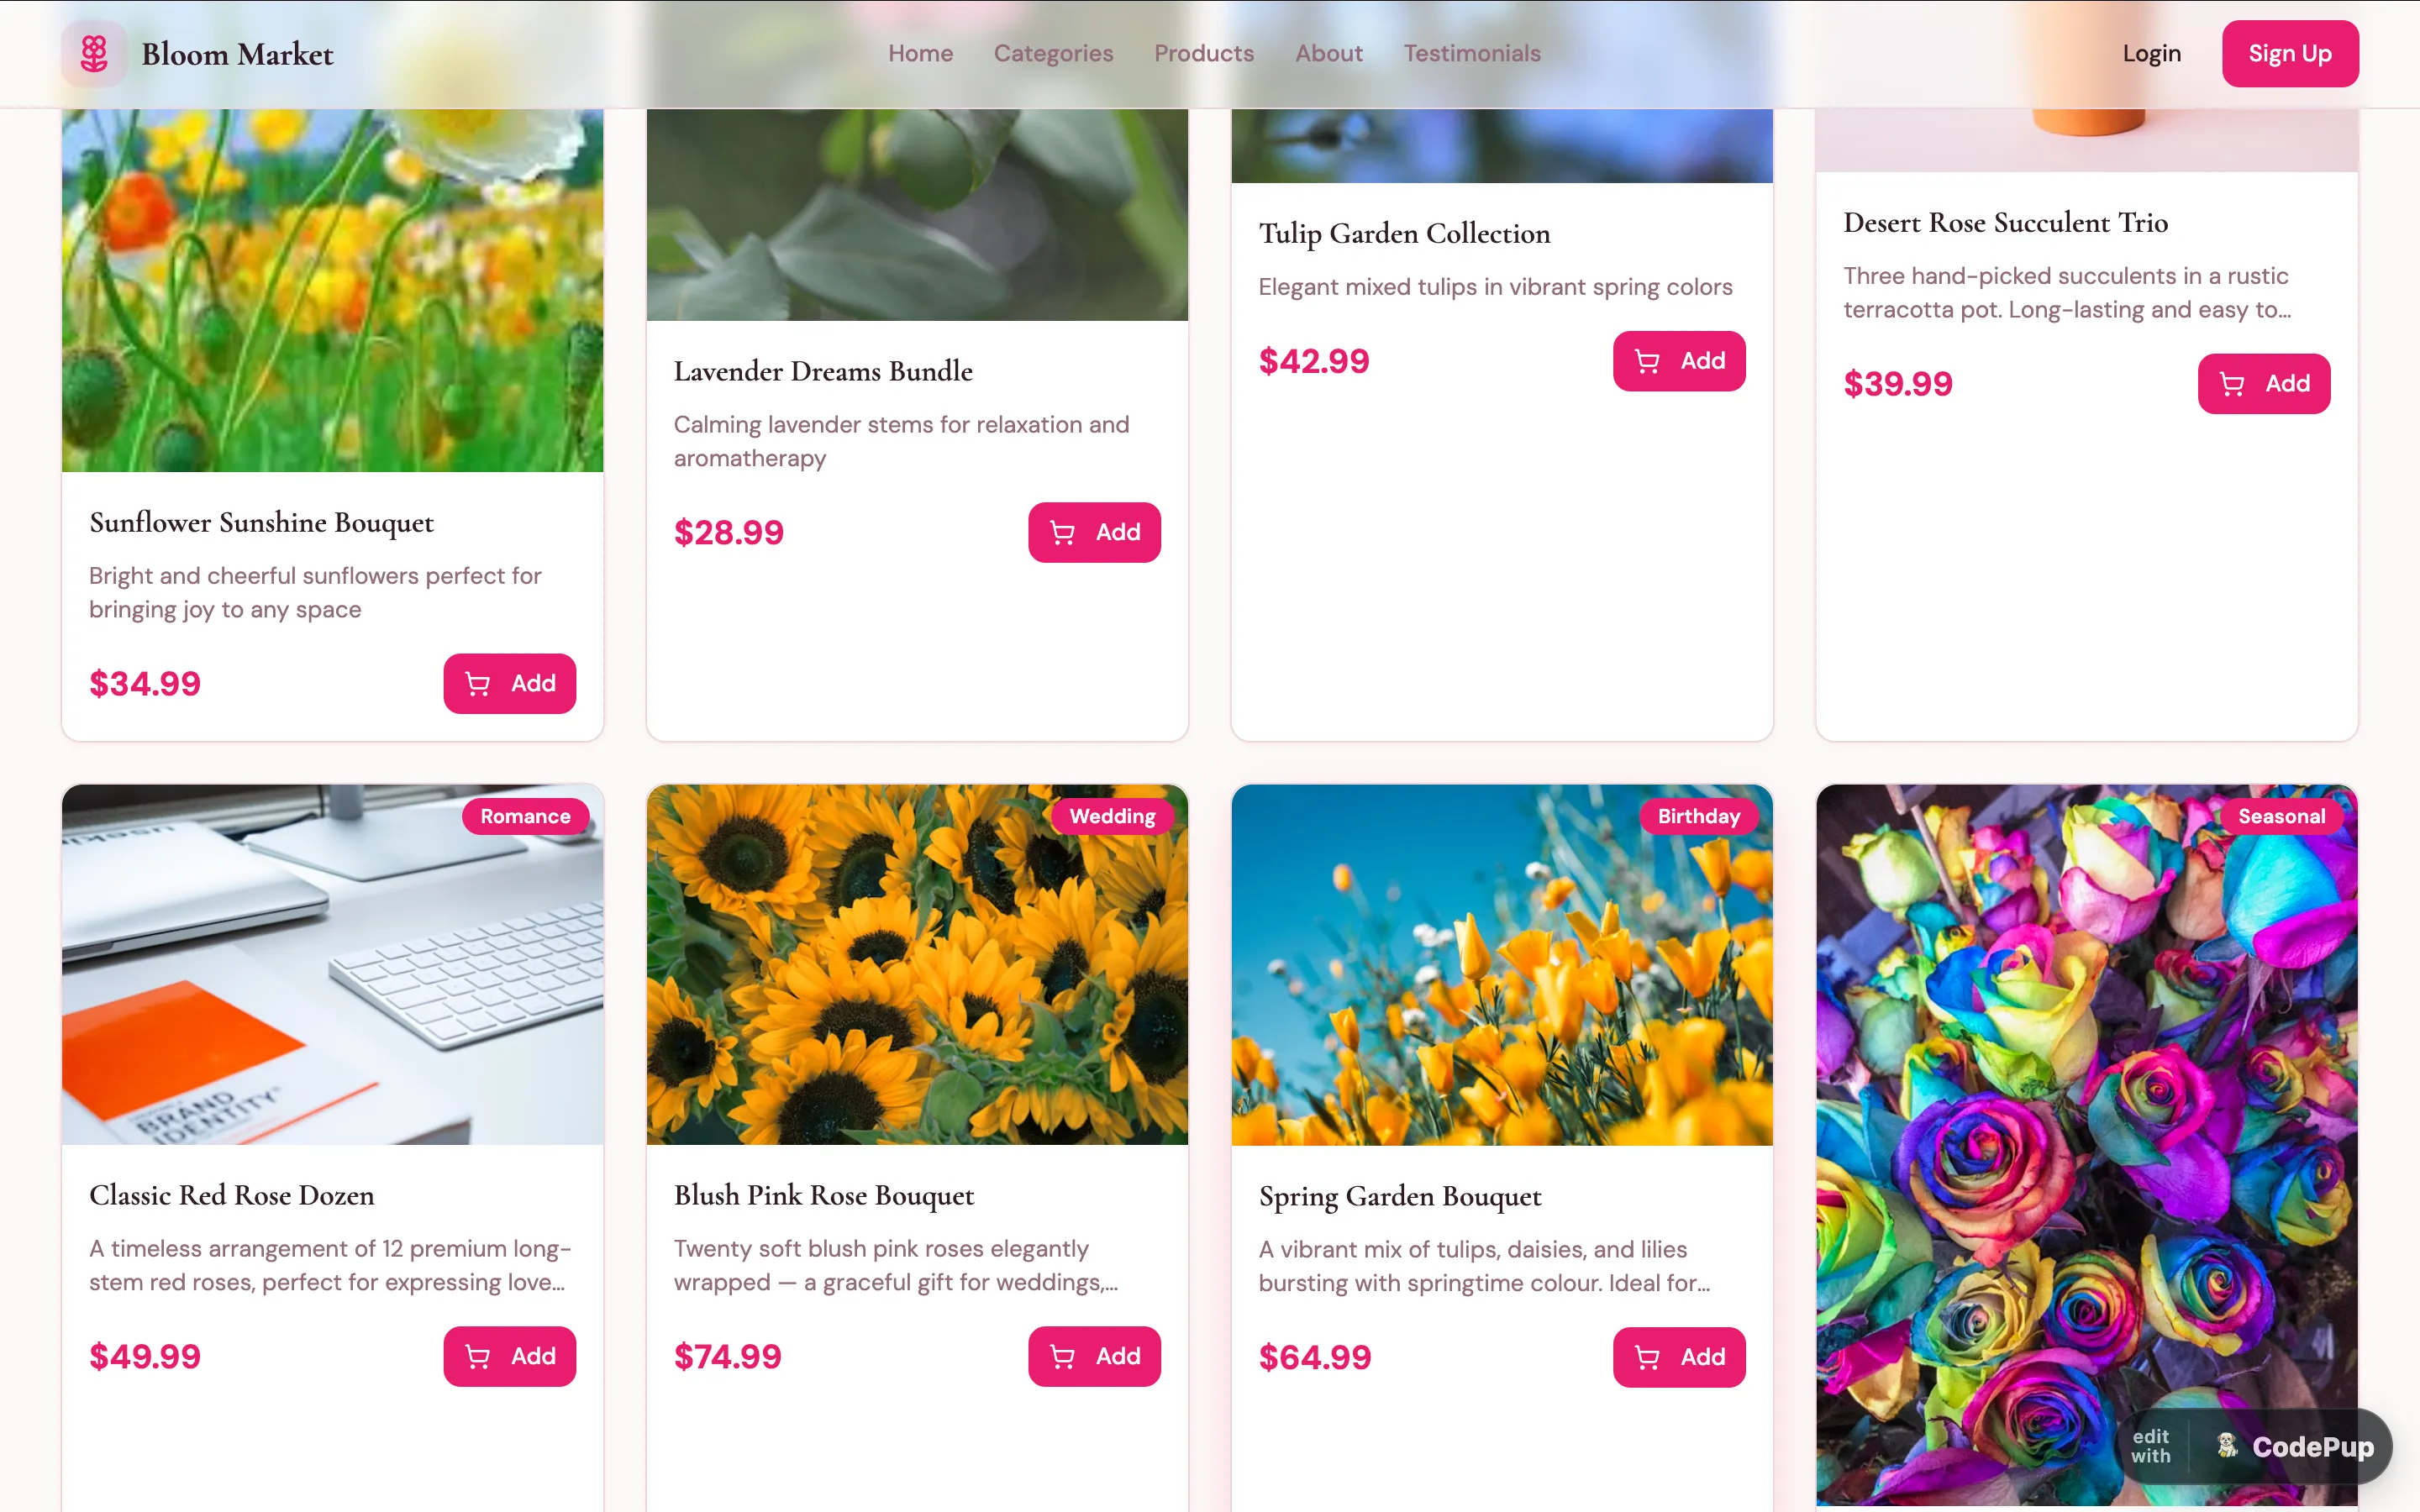
Step 4 - See Products Live on Your Website
Section titled “Step 4 - See Products Live on Your Website”Once confirmed, visit your published website - the new products or content will appear instantly without needing to redeploy.
Method 2 - Add Data Manually
Section titled “Method 2 - Add Data Manually”Prefer to add content one row at a time? Use the Add Row form for full control over every field.
Step 1 - Select a Table and Click Add New
Section titled “Step 1 - Select a Table and Click Add New”From the left sidebar, click the table you want to add data to (e.g. Products). Then click the ➕ Add New button in the top-right of the main panel.
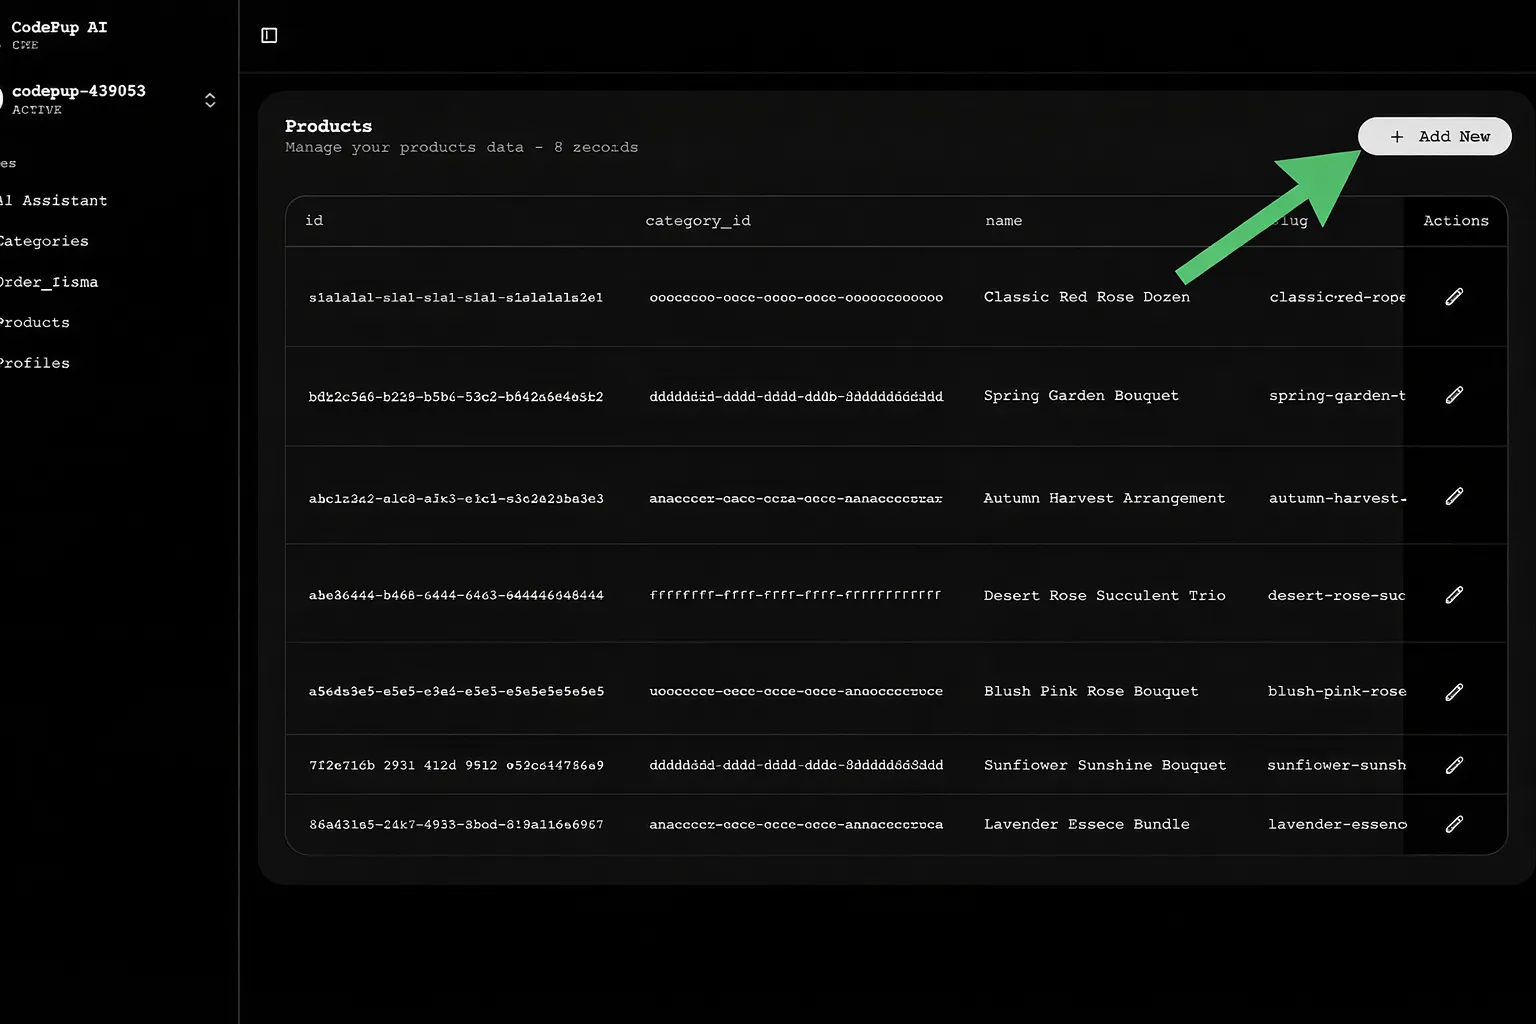
This opens a form with all the fields for that table.
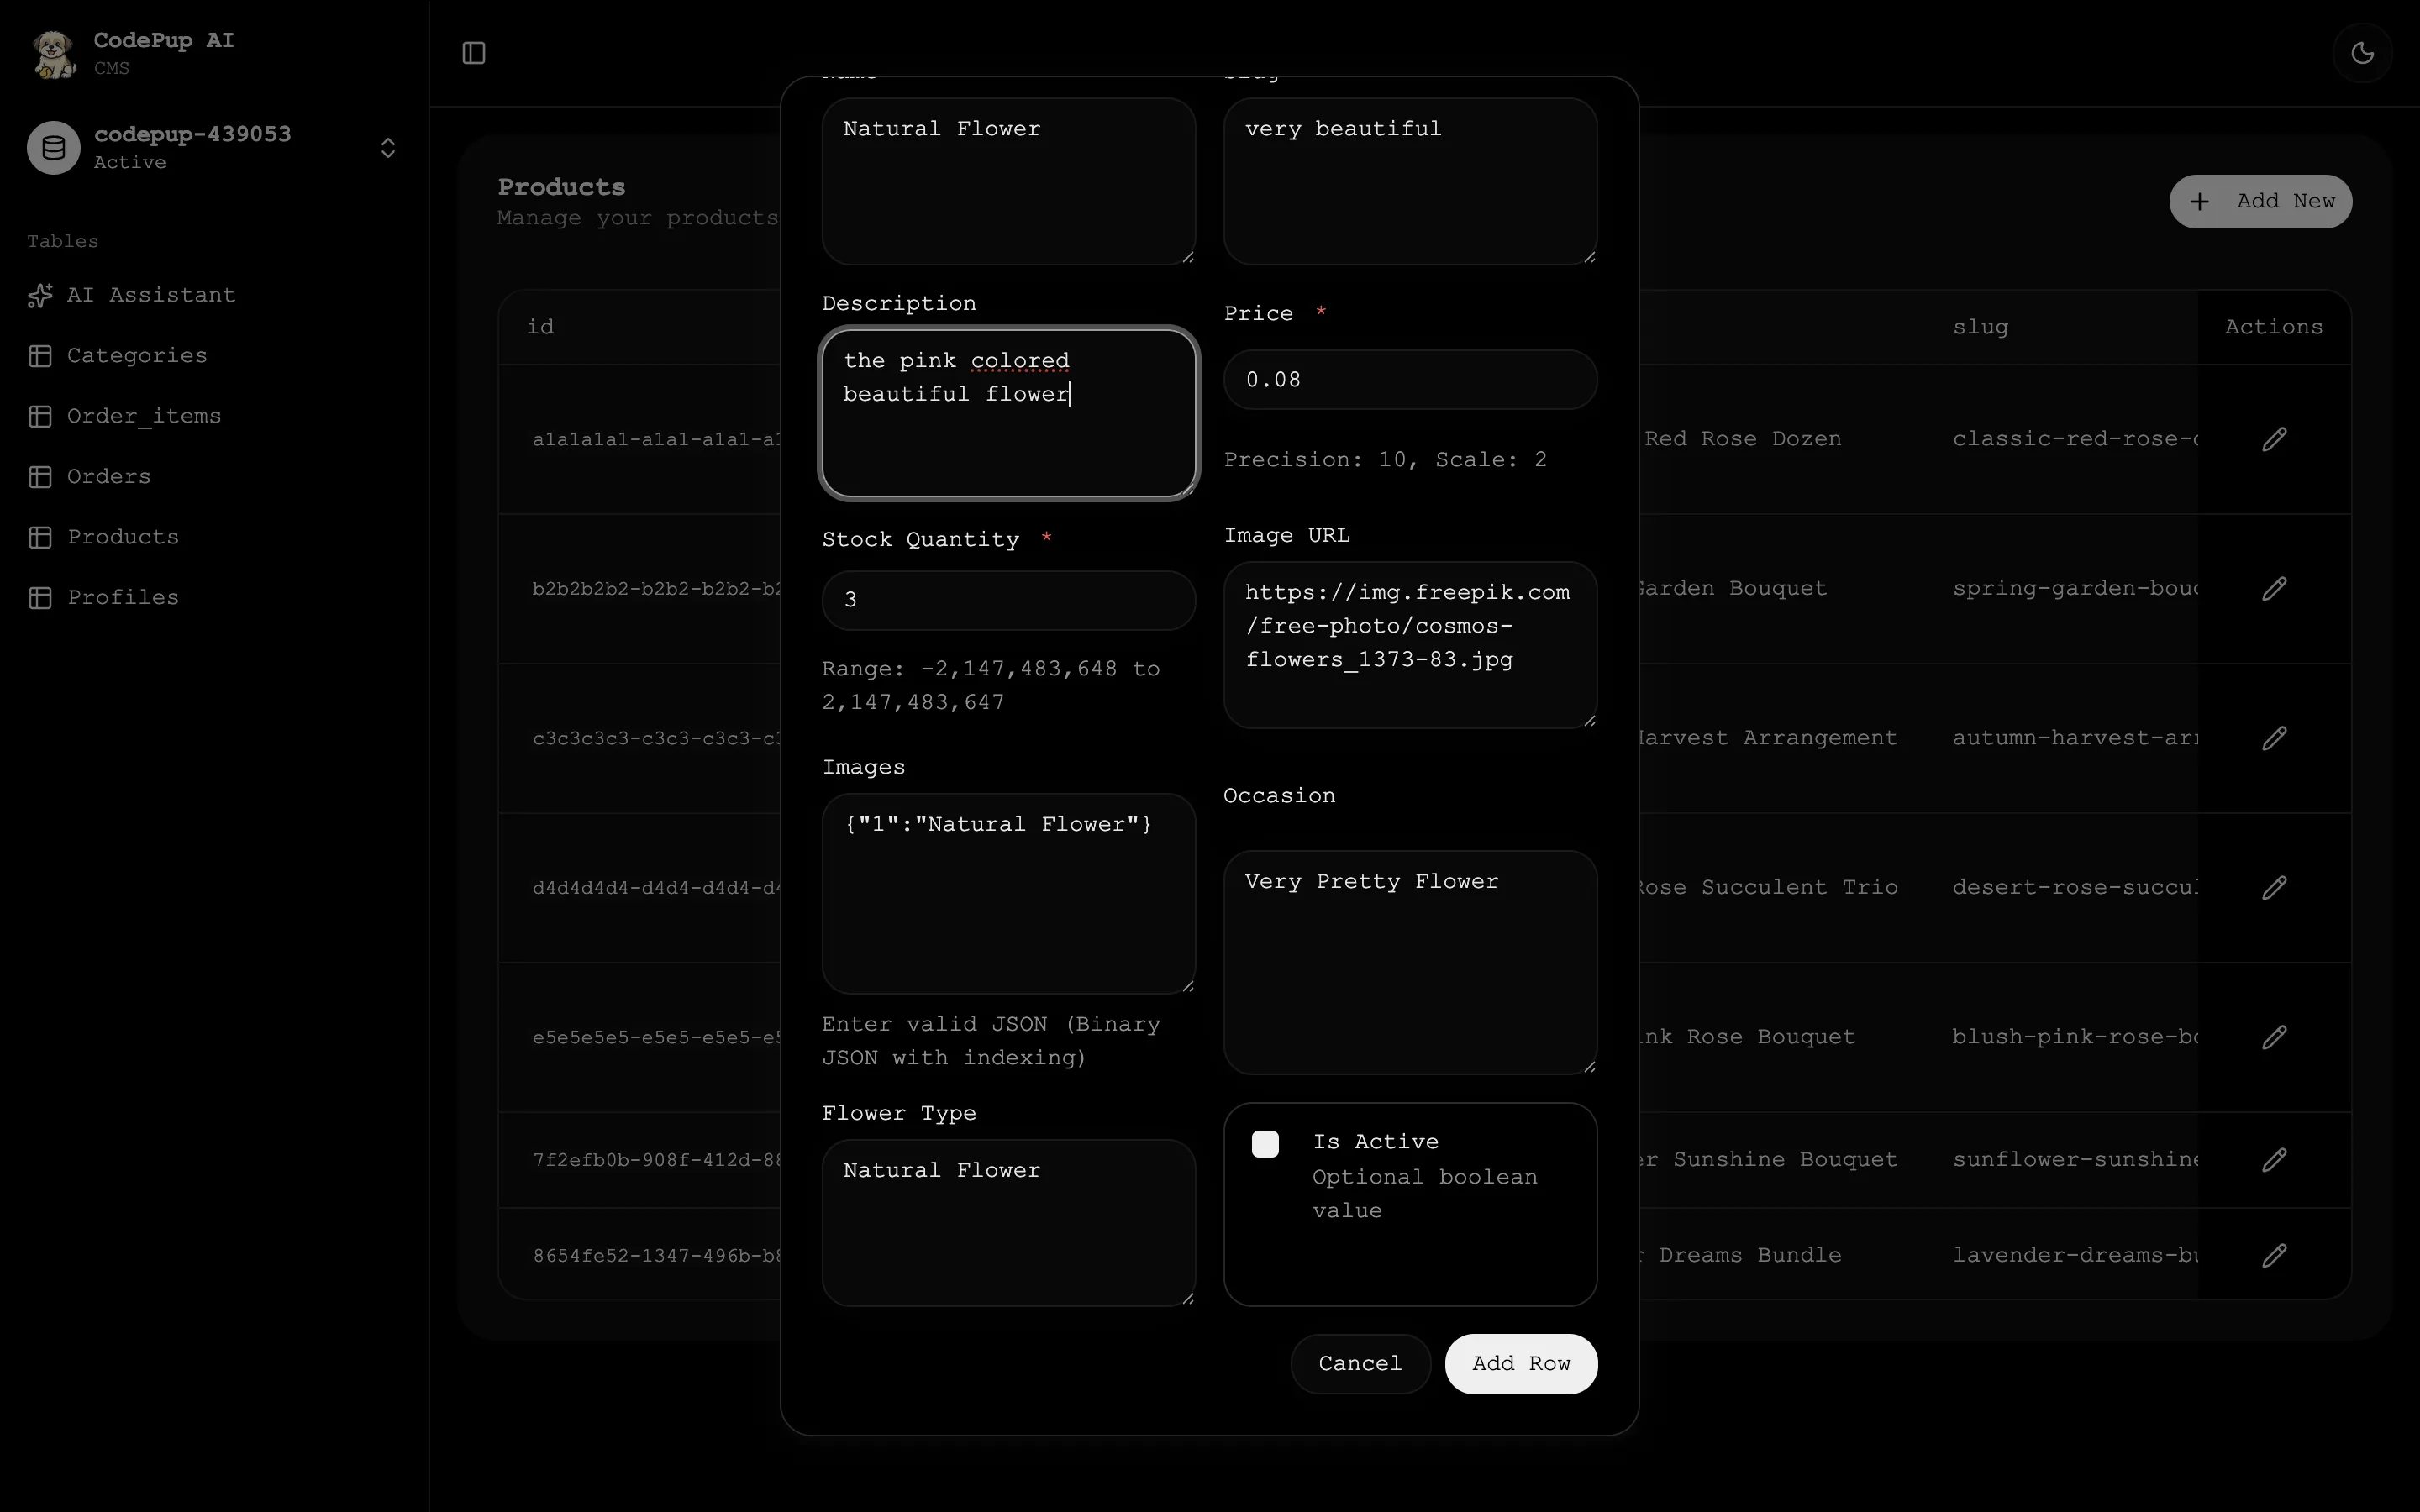
Step 2 - Fill in the Fields
Section titled “Step 2 - Fill in the Fields”The form shows every column in the table as an input field. Fill them in one by one.
Generating a Random ID
Section titled “Generating a Random ID”Every row needs a unique ID. The ID field is pre-filled with a UUID generator formula. If you want to generate a fresh random ID, click the ✨ star-shaped icon next to the ID field.

This instantly creates a new unique ID for your row.
Field Types You Will See
Section titled “Field Types You Will See”| Field Type | How It Works |
|---|---|
| ID | Auto-generated UUID - click ✨ to regenerate a new one |
| Text fields | Type directly (e.g. product name, description) |
| Dropdown fields | Select from related table records (e.g. select a category, select a user) |
| Number fields | Enter a number - valid range is shown below the field |
Step 3 - Click Add Row
Section titled “Step 3 - Click Add Row”Once all fields are filled in, click the Add Row button at the bottom-right of the form to save the record.
The new row will immediately appear in the table and the record count will update.
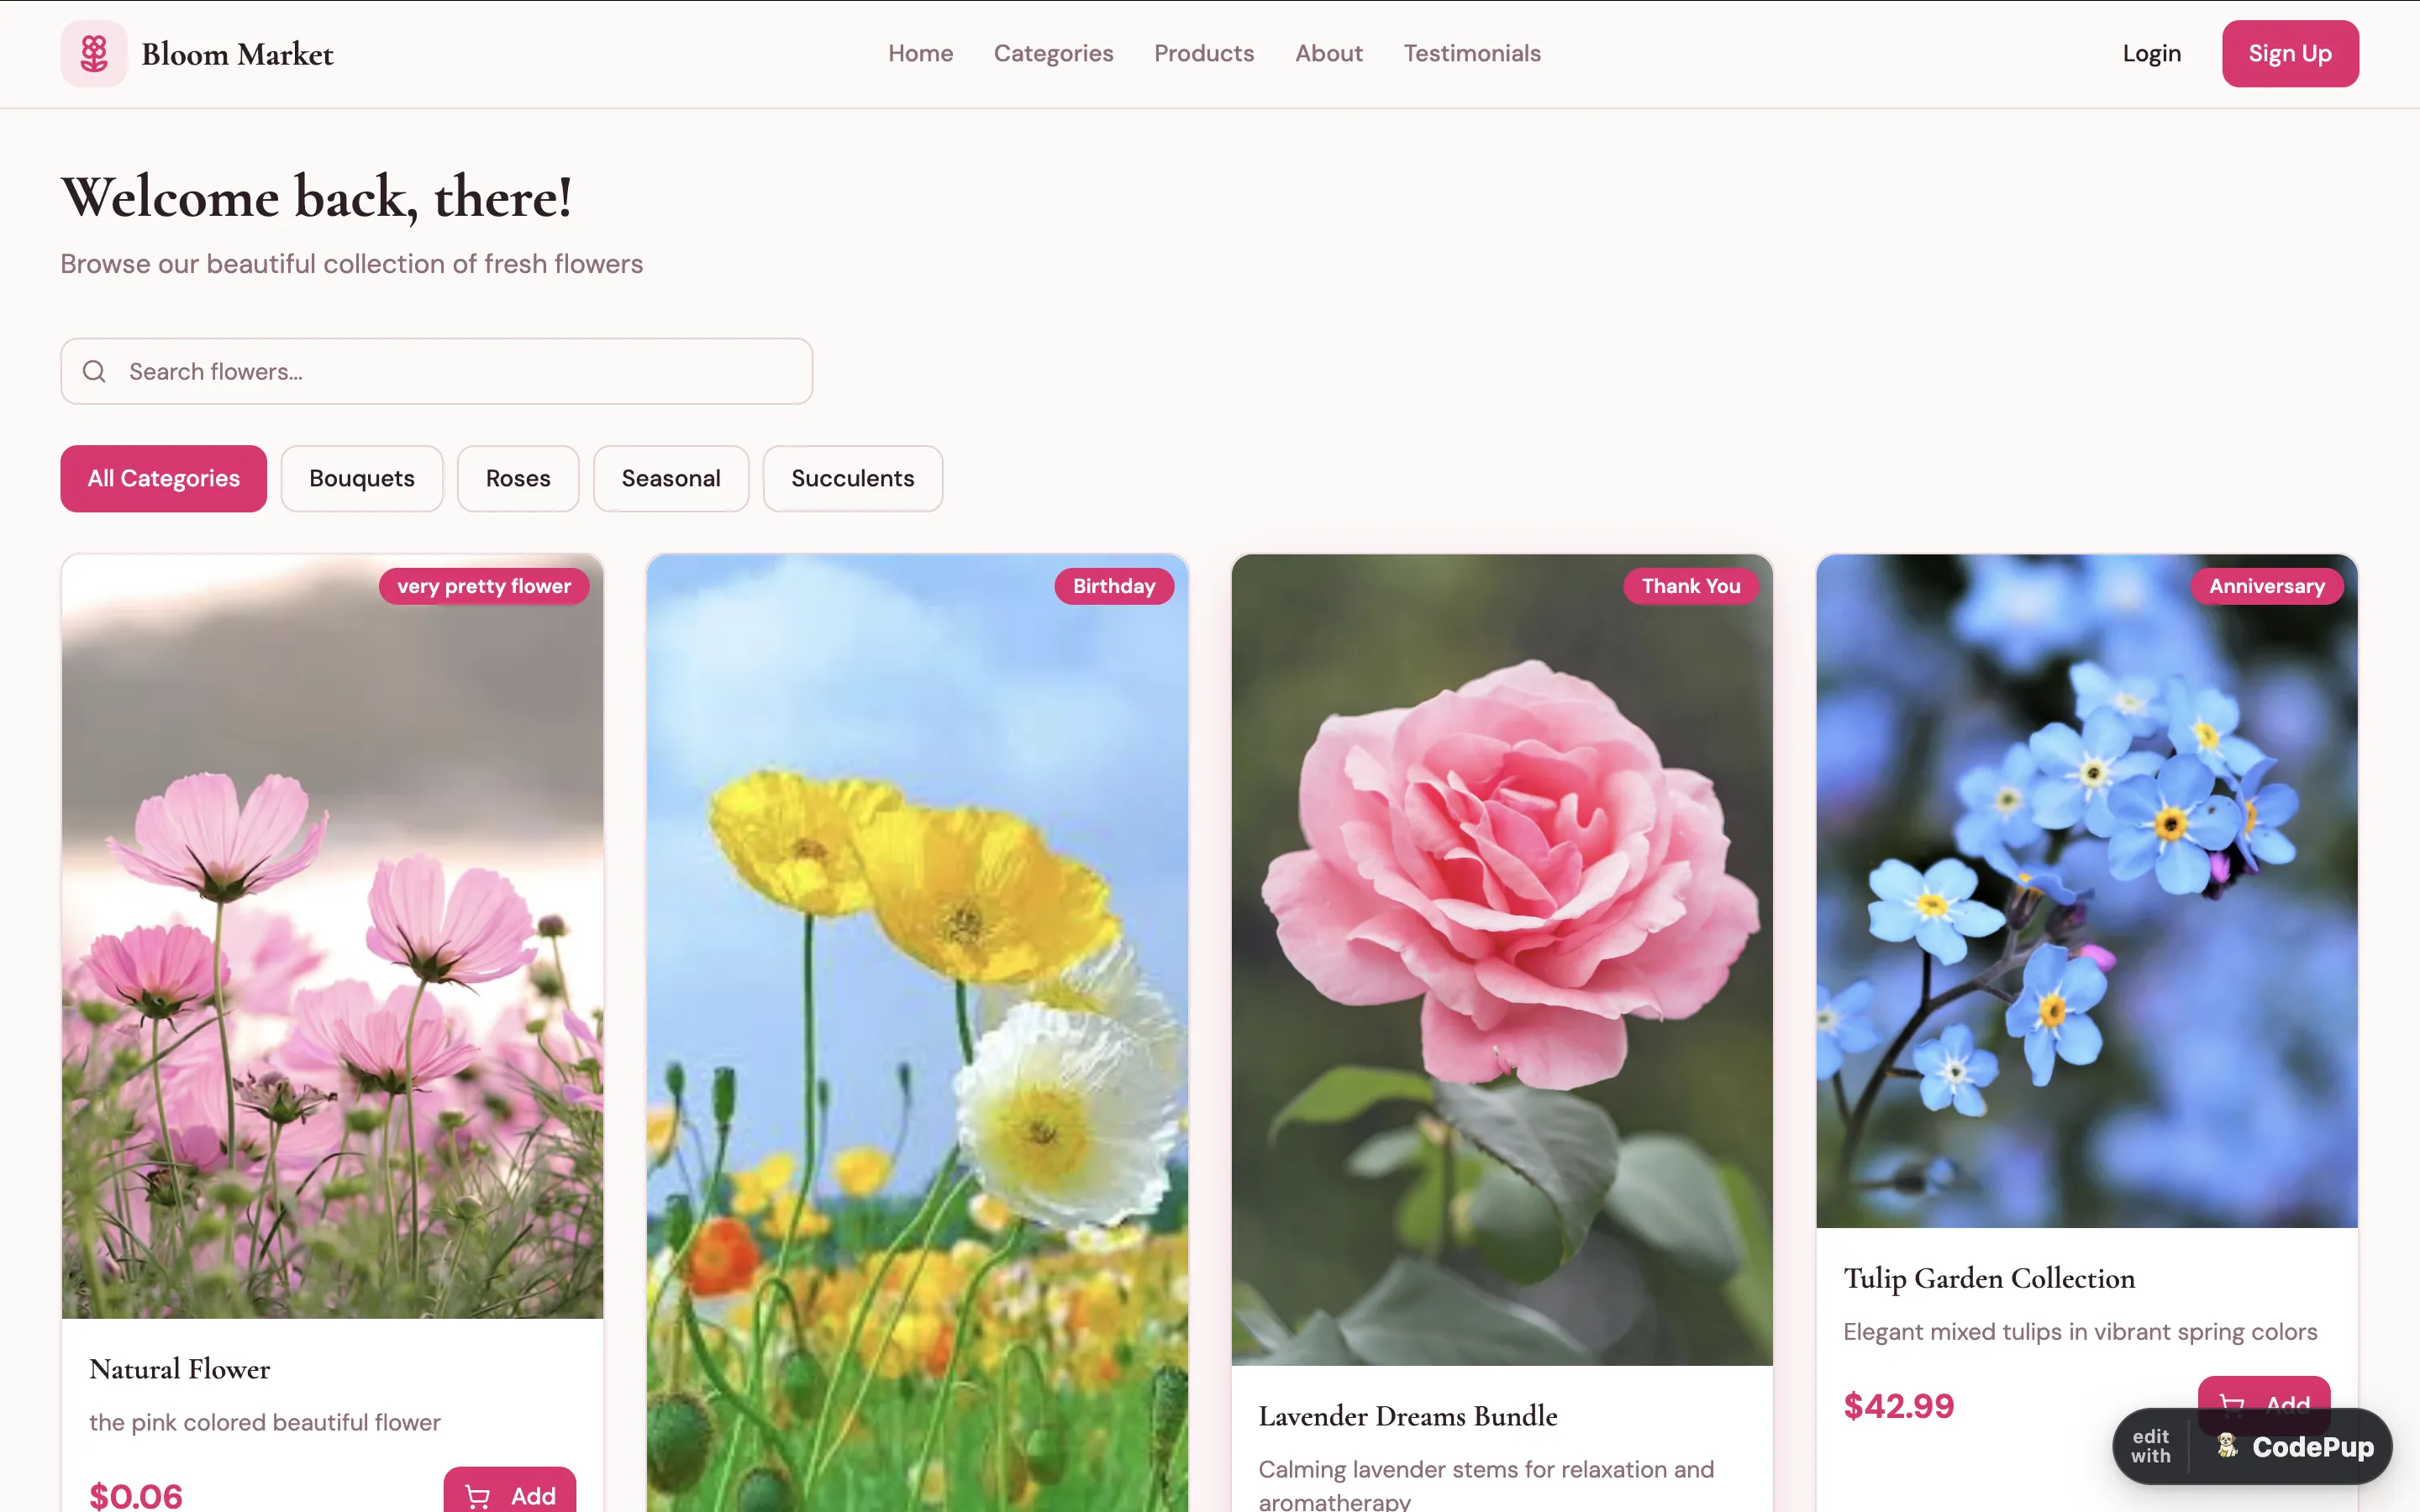
Step 4 - See the Product Live on Your Website
Section titled “Step 4 - See the Product Live on Your Website”Navigate to your published website - your newly added product or content will be visible right away.
Best Practices
Section titled “Best Practices”- Always populate parent tables first (e.g.
Categories,Profiles) before adding to child tables (e.g.Products,Orders) - dropdowns depend on this - Use the AI Assistant for bulk inserts and test data - it saves significant time
- Use Manual Entry when you need precise control over a specific record
- Keep your product names and descriptions realistic - it makes client demos much more impressive